
If you want to join the South African Police Service, the online application system is usually the first place you need to get things right. One wrong document, one missed field, or one poorly scanned file can slow you down for weeks.
That matters more now because SAPS recruitment can move fast when posts open, but it can also close just as fast. People who prepare properly tend to save time, avoid repeat submissions, and get through the first screening stage with fewer problems.
This guide walks you through the SAPS online application process in plain language. It covers what to prepare, how to apply from scratch, where people slip up, and how to tell whether your application is in good shape.
What the SAPS Online Application Actually Is
The SAPS online application is the digital process used to apply for certain SAPS vacancies and training or recruitment opportunities. Instead of handing in a paper form at a station or office, you apply through the official SAPS recruitment platform or the listed government portal when a post is open.
That online form is only one part of the process. You still need supporting documents, and SAPS may later ask you to attend assessments, interviews, fitness checks, medical checks, or vetting.
A lot of people think the online form is just a quick registration. It is not. It is the first screening step, and it needs careful attention.
Why It Matters Right Now
Recruitment in public service often brings a rush of applicants. When SAPS opens a post, many people apply at once. That means:
- forms can get filled incorrectly in a hurry
- uploaded documents can be rejected
- people who wait until the last day often miss the deadline
- small mistakes can push your application out of the running
I’ve seen applicants lose a chance simply because their ID copy was blurry or they used the wrong reference number. That kind of mistake is avoidable.
The good news is that once you know the process, the application is manageable. The people who do well are usually not the ones with “luck.” They are the ones who prepare before clicking submit.
What You Need Before You Start
Get these ready first. Do not open the application form and then start hunting for documents.
Basic things to have on hand
- South African ID number
- A valid email address you can access now
- A working phone number
- Your school results or qualification documents
- A CV if the post asks for one
- Certified copies of required documents if asked
- A clear scan or photo of each document
For some posts, you may also need
- driver’s licence
- proof of residence
- academic transcripts
- proof of registration for a qualification
- medical or fitness information later in the process
Keep your documents in a single folder on your phone or computer. Name them clearly, such as:
- ID.pdf
- MatricCertificate.pdf
- CV.pdf
- ProofOfResidence.pdf
That small step saves time and cuts down mistakes.
Where to Find the Real SAPS Application
Use the official SAPS site or the official government recruitment page linked in the vacancy notice. Do not trust random social media posts saying they “have the form.” That is where scams start.
A safe rule:
- only apply through a link shared on an official SAPS or government notice
- check that the vacancy reference number matches the one in the advert
- never pay anyone to submit your application
If a person asks for money to “help you get in,” walk away. SAPS applications are not supposed to work like that.
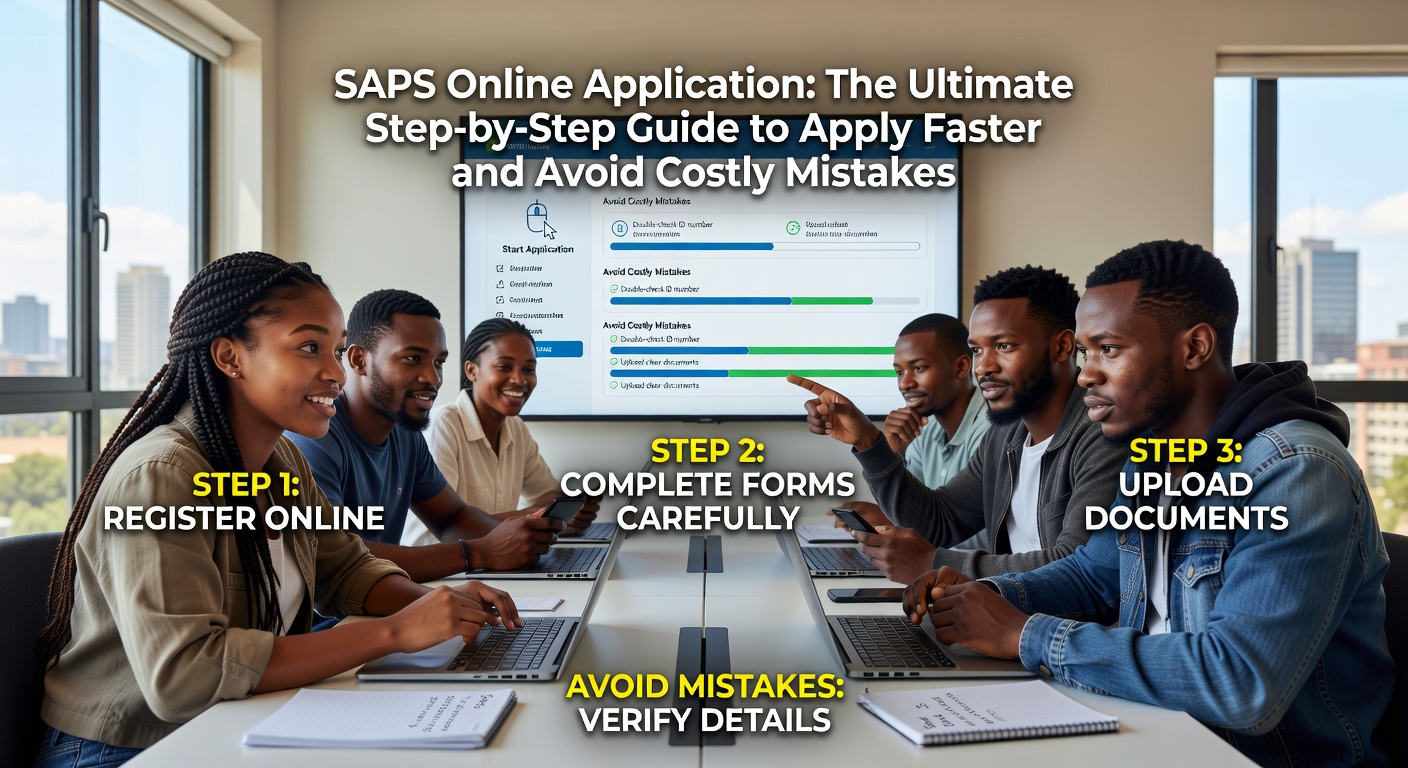
Step-by-Step: How to Apply Faster
The exact screen layout may change, but the process usually follows the same pattern.
Step 1: Read the vacancy notice carefully
Before you click anything, read the advert from top to bottom.
Look for:
- post title
- reference number
- closing date
- minimum requirements
- where to send or submit the application
- which documents must be attached
- whether the role is for a trainee, constable, officer, or another category
People often skip this and then apply for a post they do not qualify for. That wastes time and can make you miss other openings.
Step 2: Check that you meet the requirements
This sounds basic, but it saves heartbreak later.
If the post asks for:
- Grade 12, make sure you have it
- a driver’s licence, make sure it is valid
- no criminal record, be honest about your status
- age limits, confirm you fit them
- fitness standards, check that you can meet them
Do not guess. If the advert says minimum requirements are strict, assume they are strict.
Step 3: Prepare clean copies of your documents
This is where many applications fall apart.
Your files should be:
- easy to open
- readable
- not cut off at the edges
- saved in a common format like PDF or JPG, if allowed
- not huge in size if the system has limits
Before submitting, open each file yourself and check it. I’ve seen people upload a document only to find out later that it was the back of an ID card without the front, or a scan so dark nobody could read it.
Step 4: Create or open the online form
Enter your personal details exactly as they appear on your ID and supporting documents.
Use the same spelling for:
- names
- surname
- ID number
- contact details
- address
If your name on the form does not match your ID, delays can follow.
Step 5: Fill in all required sections
Complete each section carefully. If a field is optional and you do not need it, leave it blank only if the system allows that. If a field is marked required, do not guess.
Typical sections may include:
- personal details
- education history
- work history, if any
- contact details
- declarations or consent forms
Take your time here. A rushed form is where avoidable errors happen.
Step 6: Upload the right documents
Match every document to the correct upload field.
For example:
- ID copy goes in the ID section
- certificate goes in the qualification section
- CV goes where requested
- proof of residence goes in the supporting documents section
If the system lets you upload more than one file, check that each file is attached correctly before moving on.
Step 7: Review everything before submitting
Read your form from top to bottom. Check:
- ID number
- phone number
- email address
- reference number
- spelling of your name
- upload status of each document
This is the point where a five-minute review can save a two-week headache.
Step 8: Submit and save proof
When the form is submitted, save:
- the confirmation page
- any reference number
- screenshot or PDF receipt if available
- the email confirmation, if one is sent
Do not assume the application went through just because you clicked submit. Keep proof.
Common Mistakes That Cost People the Job
These are the problems I see most often.
1. Missing the closing date
This one is simple and painful. People wait, then the vacancy closes. The system will not care that you were “about to apply.”
2. Applying for the wrong post
The title may sound similar, but the requirements can be different. Read the reference number and post details carefully.
3. Uploading blurry or incomplete documents
A blurred ID copy can get your application pushed aside. Same goes for cropped pages or dark scans.
4. Using the wrong email or phone number
If SAPS cannot reach you, your application stalls. Use contacts you check daily.
5. Leaving out required documents
If the advert says attach a certified ID copy and proof of qualification, then both must be there.
6. Typos in names or ID numbers
One digit wrong can create a mismatch between your form and your documents.
7. Trusting unofficial helpers
If someone says they can get you in for a fee, that is a red flag. Apply through the proper channel yourself.
8. Not reading eligibility rules
Some applicants apply before checking age, citizenship, education, or background requirements. That usually ends badly.
How Long It Takes
If your documents are ready, the online form itself may take 20 to 40 minutes.
If you still need to scan, certify, or collect documents, give yourself a day or two before the deadline. If you are doing it from scratch, start earlier than you think you need to.
A realistic time plan looks like this:
- 30 minutes to read the vacancy properly
- 30 to 60 minutes to gather and scan documents
- 20 to 40 minutes to complete the form
- 10 to 15 minutes to review everything
- extra time if the site is slow or needs re-uploads
Do not try to do this five minutes before closing time. That is when systems lag and panic takes over.
Free vs Paid: What You Should and Should Not Pay For
The application itself should be free when done through official SAPS channels.
You may need to pay for other things, but not the application fee. Common costs can include:
- certified copies at a police station, post office, or other authorised place
- printing
- scanning
- transport to collect documents
- later costs for medicals or travel if you reach those stages
What you should not pay for:
- “guaranteed placement”
- application submission services that promise inside access
- anyone claiming they can speed up SAPS recruitment for cash
If the only thing you need is the form and your own documents, your main cost should be small and practical, not a fee to apply.
How to Get Started from Zero
If you have never applied online before, do it in this order.
Your first 3 actions
- Get your ID and school documents together.
- Create an email address you can keep using.
- Read the vacancy notice line by line.
If you do not have access to a computer, use a library, internet café, or a trusted device. Just make sure you do not save personal details on a public computer without logging out properly.
If you do not have a scanner
You can use a phone camera, but only if the image is clear.
Tips:
- use good light
- place the paper on a flat surface
- capture the full page
- avoid shadows
- crop only after checking that nothing is cut off
For best results, turn the photo into a PDF if the system prefers that.
If you are not confident with forms
Ask someone to sit with you, not to do it for you. You need to know exactly what was submitted under your name.
Short Real-World Scenarios
Scenario 1: The rushed applicant
Thabo waited until the last evening to apply. The site was slow, his ID scan would not upload, and he entered the wrong reference number twice. By the time he fixed it, the post had closed.
Lesson: start early and check the advert first.
Scenario 2: The careful applicant
Nandi prepared everything two days before the closing date. She saved clean PDFs, checked her details against her ID, and kept a copy of the submission receipt. Her form went through without trouble, and she had proof when she followed up.
Lesson: preparation saves time and stress.
Scenario 3: The missing-document problem
A candidate submitted the form but forgot the certified qualification copy. The system did not warn him clearly, and the application was later marked incomplete.
Lesson: use the advert as a checklist.
How to Know If It’s Working
You cannot always tell right away, but there are clear signs your application is on track.
Good signs
- you received a confirmation message or reference number
- your uploaded files open correctly before submission
- the form matched your ID details
- your contact details are correct
- you kept proof of submission
Warning signs
- no confirmation after submitting
- upload errors you ignored
- spelling differences between your form and ID
- a missing attachment
- messages bouncing back because of the wrong email
If something looks off, fix it fast if the system still allows changes. If not, follow the contact details in the vacancy notice and ask how corrections are handled.
What Changed Recently
Online recruitment systems change from time to time. The exact layout, required file types, and document rules can shift with new vacancy notices or updates to the portal.
What has changed in many public application processes in recent years is the push toward:
- online submission instead of paper drop-off
- tighter document checking
- stricter deadline handling
- more use of reference numbers and confirmation records
That means old advice from a friend may no longer apply. Always follow the current vacancy notice, not what worked two years ago.
A Simple Checklist Before You Hit Submit
Use this quick check:
- Have I read the vacancy notice fully?
- Do I meet the minimum requirements?
- Is my name spelled exactly as on my ID?
- Is my ID number correct?
- Are my contact details active?
- Are all required files attached?
- Are the scans clear and readable?
- Did I save the reference number or proof of submission?
If any answer is no, stop and fix it first.
What to Do After You Apply
Once the application is in, keep watching your email and phone.
Do this next:
- save all proof in one folder
- check messages daily
- answer calls from unknown numbers if they may relate to recruitment
- keep documents ready for assessment or interview calls
- watch the official SAPS notice board or website for updates
Do not spam the office with repeated calls the same day you apply. Give the process time, but stay reachable.
Good Follow-Up Reads
If you are serious about joining SAPS, the next topics to read should be:
- SAPS minimum requirements for different roles
- how to prepare for SAPS fitness tests
- how to get certified copies and what counts as certified
- how to write a basic CV for public sector applications
- how to avoid recruitment scams
Those reads help you move from “submitted” to “ready for the next stage.”
One Last Practical Thought
The SAPS online application is not hard, but it does punish carelessness. If you prepare your documents, read the notice properly, and submit early, you already beat a lot of applicants.
Do it neatly, keep proof, and treat every field like it matters. Because it does.